Caramelized Shallots
You know what’s seriously underrated? Caramelized shallots. Butter, low heat, patience — that’s it. They go from sharp and raw to golden, jammy, and sweet in about 35 minutes. I don’t call for them in my spaghetti sauce, but they work beautifully there if you want extra depth. Once you make them once, you’ll find yourself putting them on everything.
Caramelized Shallots
Ingredients
- 1¼ pounds shallots, about 6–7 medium, peeled and thinly sliced (⅛-inch)
- 4 tablespoons unsalted butter
- ¾ teaspoon kosher salt, plus more to taste
- 2 tablespoons water, optional, for deglazing if needed
Optional add-ins:
- 1 teaspoon olive oil, to prevent butter browning
- 1 sprig fresh thyme or 1 bay leaf
- 2 teaspoons balsamic vinegar or dry white wine, finish only
Instructions
Prep the shallots
- Peel and thinly slice the shallots into even ⅛-inch slices. Uniformity matters here. Uneven cuts cook unevenly
Melt the butter
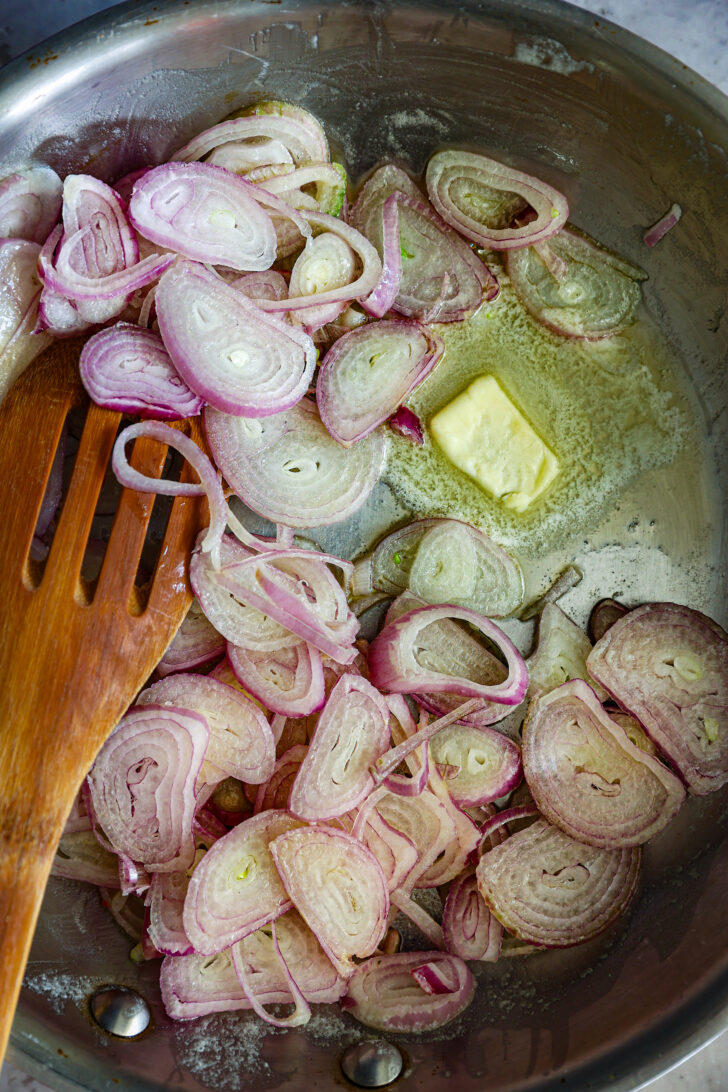
- Place a wide skillet over medium-low heat. Add the butter and let it melt gently. You want it fully melted and foamy, not browned.
Add shallots and salt
- Add the sliced shallots and sprinkle with ¾ teaspoon kosher salt. Stir to coat everything evenly in butter.
Cook low and slow
- Reduce heat to low. Cook uncovered for 30–35 minutes, stirring every 2–3 minutes at first, then more frequently as they darken.
- Early on, they’ll release moisture and soften.
- Midway, they’ll collapse and turn pale gold.
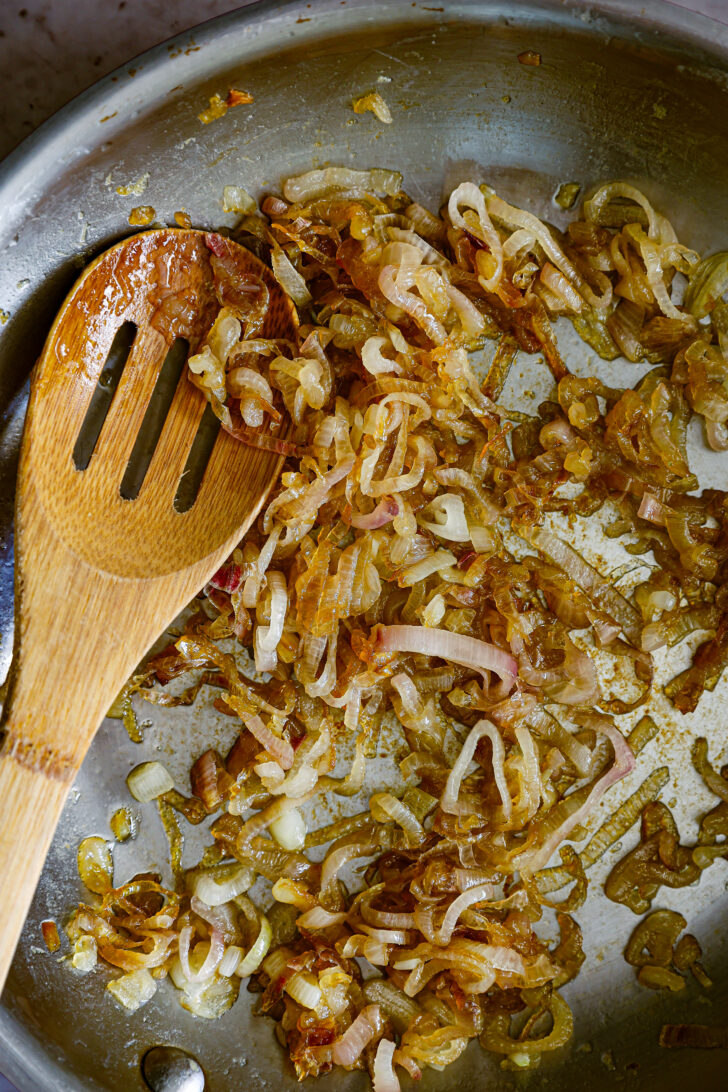
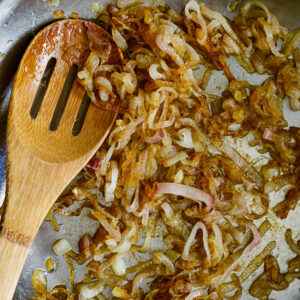
- At the end, they should be deep amber, glossy, and jammy.
- Manage sticking (if needed)
- If the pan dries out or bits start sticking, add 1 tablespoon water, scrape gently, and continue cooking. Repeat only if necessary.
Finish and adjust
- When the shallots are dark, sweet, and deeply caramelized, taste and adjust salt if needed. Remove from heat.
Notes
Tips
- Low and Slow: The key to caramelization is low heat and patience. High heat will cause the shallots to burn rather than caramelize.
- Consistency: Ensure the shallots are sliced uniformly for even cooking.
- No Crowding: If you’re cooking a large batch, avoid crowding the pan. Cook in batches if necessary to ensure each shallot slice has room to caramelize.
What “Done” Actually Looks Like
You’re looking for a deep amber color, not pale gold or yellow. The texture should be soft and silky with a lightly jammy feel, never dry or stringy. Flavor-wise, they should be sweet and savory with an almost nutty depth, not sharp or oniony. The aroma should be rich and mellow, with no raw bite left at all. If they’re still pale, they’re not done. Period.Storage
Let the shallots cool completely, then store them in an airtight container in the refrigerator for up to seven days. When you’re ready to use them, rewarm gently in a pan over low heat or in the microwave just until softened and glossy again.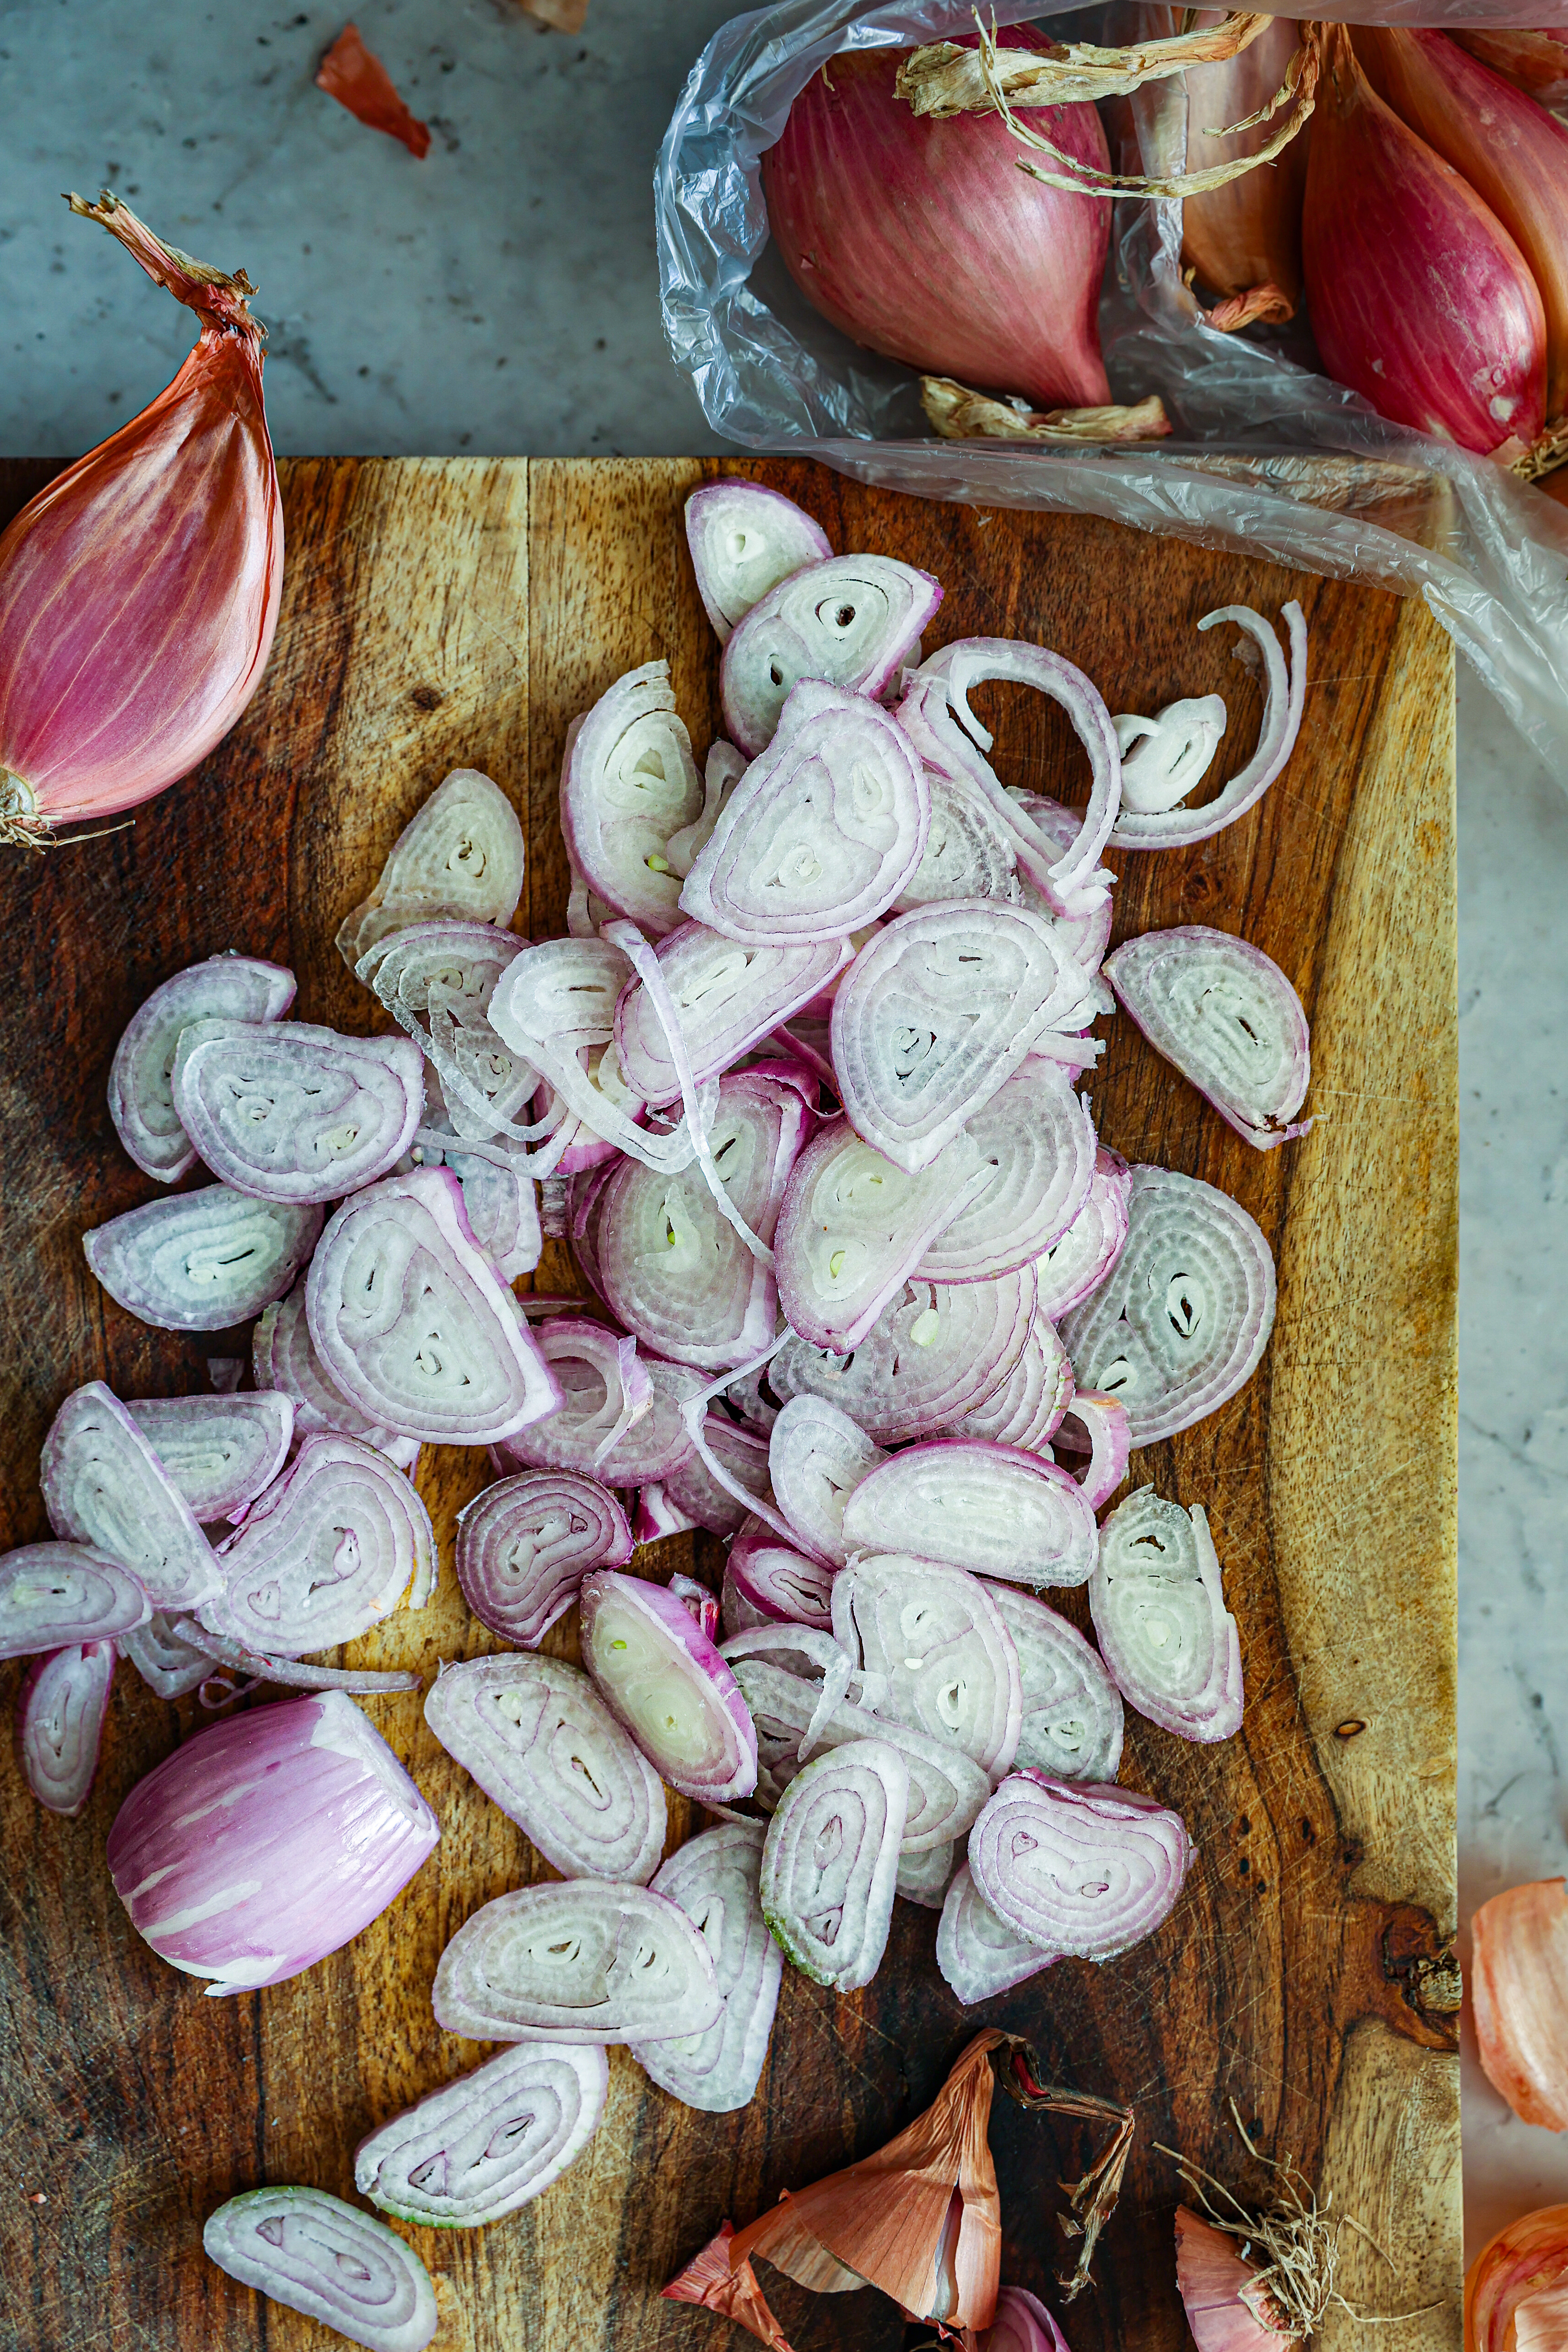
Why this works
- Simple Ingredients, Big Flavor: Okay, so shallots? They’ve already got a subtle sweetness, but once you caramelize themᅳwhoa, they’re on a whole new level. Sweet, savory, rich… they just make everything better. Throw them in anythingᅳwell, almost anything. As a side note, there is an ice cream place in Bar Harbor (Bah Habah) that sells Lobster Ice Cream. Ya, its not good.
- Butter’s Role: And butter? Who does not love butter?! It’s not just there for flavor (though, yeah, it adds plenty). It coats the shallots, helps them cook nice and slow, getting them all tender and golden.
- Low and Slow Cooking: Seriously, just take your timeᅳno need to rush this. Rushing is not an option. Let those sugars caramelize, and before you know itᅳboom! You’ve got golden, tender shallots with that deep, almost smoky sweetness
- Make them darker than you think: Deep amber, not pale gold. THAT is what you’re after. Pull them early and they’re just… shallots. Cooked shallots. You want them DARK.
- Versatility in Use: And the best part? They go with everything. Add them to a sandwich, stir them into a creamy pastaᅳheck, sometimes I just eat them straight from the pan. I’m not even sorry. 🙂
- Technique Over Complex Equipment: Forget the gadgetsᅳyou’re only going to need a pan, a wooden spoon… and maybe a bit of patience (but hey, no rush, right? ).
- Salt as a Flavor Enhancer: How big of a deal can a pinch of salt really be? Turns out, pretty huge. It pulls moisture right out and keeps the sweetness balanced. Sometimes, it really is about those tiny details.
Why These Matter
They’re one of those ingredients that just… does a lot. A spoonful of slow-cooked shallots can make a simple pasta taste expensive, turn a steak into something you’re proud of, or give you a sweet-savory backbone that makes people ask what you did different, chef!!
Take It to the Next Level
- Herb Infusion: Got thyme? (See what I did there? 🙂 Or maybe a bay leaf? Toss one in while the shallots are cooking. It’ll give them that little herbal kickᅳsubtle, but trust me, you’ll notice.”
- Variations in Butter: Try mixing butter with a splash of olive oil. I know it sounds a bit unconventional, but it keeps the butter from burningᅳand the extra flavor is out of this world!
- Wine Deglazing: “Once your shallots are looking golden and delicious, splash in a bit of white wine. Or… Try balsamic vinegar insteadᅳit adds a fun twist! That extra flavor kick? You’re going to love it!
- Storage Tips: “Storing these beauties? Just make sure they cool off before you tuck them into an airtight container. They’ll keep in the fridge for up to a weekᅳif they last that long, that is.”
- Serving Suggestions: These shallots are bursting with flavor, and they work with almost anything! Toss them over a juicy steak or mix them into creamy mashed potatoes for an extra kick.Tried them on pizza yet? They bring such a great punch. And if you’re feeling adventurous, pile them onto a burgerᅳyour family will love it!”
- Sweet Twist: Stir in a bit of brown sugar while they cookᅳit adds an unexpected layer of flavor. More flavor = good!
And if you want another golden-brown, deeply savory recipe in your rotation, try my Mushroom Rolls. Totally different dish, same caramelized flavor.
Ways to Use These Caramelized Shallots
- Tossed into warm pasta with parmesan
- Spooned over steaks or grilled chicken
- Mixed into mashed potatoes
- Added to burgers or sandwiches
- Stirred into soups for deeper sweetness
- Spread on crostini with ricotta
- Folded into omelets or scrambles
- Swirled into vinaigrettes for instant flavor
Faq’s
Definitely! Onions work, for sureᅳjust remember, they’ve got more bite than the mellow sweetness of shallots. Totally different vibe, but they get the job done.
Slice them nice and thinᅳabout 1/8 inch. That way, they’ll cook evenly and caramelize without going too fast.
Lower the heat right away. Caramelizing takes its sweet time, so if they’re burning, dial it down to low.
Sure thing! Pop them in an airtight container, and they should be fine in the fridge for a weekᅳmaybe a little longer! Whenever you’re ready for them (craving them? ), just grab them, and you’re good to go!
Of course! Olive oil or your favorite plant-based butter works just as well.
Equipment Needed
- Cutting Board and Knife: Knife sharp? Check. That cutting board better not wobbleᅳshallots demand precision, but hey, we’re not building a rocket here.
- Skillet or Frying Pan: A sturdy, heavy-bottomed skillet is your best friend here. It keeps the heat consistent, so nothing burns before it caramelizes.
- Spatula or Wooden Spoon: You’ll want something to gently stir the shallots, keeping them from sticking and ensuring they cook just right.
- Measuring Spoons: Handy for measuring out oil, butter, or whatever extra flavors you’re adding in.
- Stove: Set your stove to low or MAX mediumᅳno cranking it up! Slow and steady wins the game here.
- Optional Splash of Liquid: A bit of broth, wine, or water can go a long way in adding depth when deglazing the pan.
So good!! I am really suprised that I had not tried doing this before. The taste is more subtle than onions and so, so good!! Thank you for sharing this
Hi Linda,
Thank you! I am so glad you liked them. You’re right, the taste is subtle and (I think) much better!!
Thanks
David
These caramelized shallots are pure gold! I made a double batch and they turned out perfectly jammy and sweet. Added them to pasta and it was next level.
Thanks Karen!
It’s so simple and give such huge flavor!
David
I actually did not really think about caramelized shallots before. I always just thought of onions. I can’t believe how good these were. The taste is more subtle and sweeter than onions. They are so good! Caramelizing is so easy but so underrated. Thanks so much for opening my eyes to these!
Hi Becca!
I am soooo glad you liked them! I know, its so true, you never really think about caramelizing shallots do you? They are really, really good though. I use them in lots of things at this point for sure.
Thanks
David
Thanks! I cooked the shallots in butter and a little water from the pan the ribs were roasted in to prevent burning and for salt as explained in recipe. The sliced shallots (maybe 2/3lb) were slow cooked on the stove, sprinkled with balsamic vinegar, chipotle, liquid smoke (they are for brussels sprouts to go with ribs) and sugar, left 250 with ribs to dry, then brief 450 with ribs to get color. result was very tasty
Hi Peter,
That really sounds amazing, seriously! I love the creativity with the chipotle and liquid smoke, that sounds really tasty and I am going to have to try that for sure. It sounds like they came out the way they were suppposed to. Thanks so much!
David